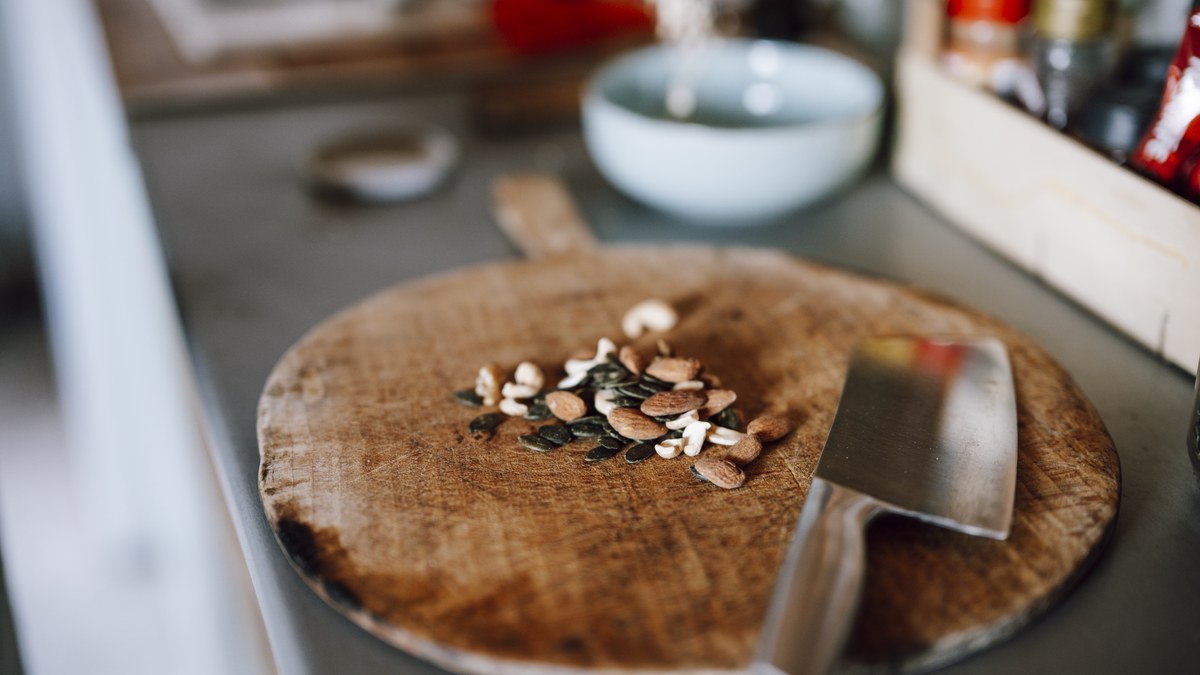
Lots of kitchens have one: a heavy wooden board, darkened with age, that somebody made years ago and nobody would ever throw out. A good cutting board is simple to build, and if you glue it and finish it right, it will outlast most of what sits on the counter beside it.
This plan makes an edge-grain board about 10 1/2 inches wide, 16 inches long, and 1 1/4 to 1 3/8 inches thick. It is a solid first glue-up project and an easy gift to make in batches.
Choosing the wood
Hard maple is the traditional choice. Fine Woodworking says nearly any hardwood can work, and many makers mix maple with walnut or cherry for contrast. The same source says to avoid soft woods like pine, fir, and poplar, because they dent and cut deeply and the cracks can hold bacteria. It also warns against oily or allergy-causing exotic species.
Never use pressure-treated wood for anything that touches food. The EPA says not to use arsenic-treated wood for cutting boards or countertops.
Buy boards that are already surfaced to 3/4 inch thick. A "1x6" board is actually about 3/4 by 5 1/2 inches.
What you need
- About 8 feet of 3/4 x 5 1/2 inch hardwood (for example, 5 feet of maple and 3 feet of walnut)
- A table saw with its guard, riving knife, and a push stick
- Wood glue labeled water resistant and approved for indirect food contact
- 4 to 6 bar or pipe clamps, at least 12 inches of capacity
- A hand plane, belt sander, or random orbit sander
- Sandpaper: 80, 120, and 180 grit
- Food-grade mineral oil (and beeswax if you like a wax finish)
Cut list
| Part | Qty | Size | Notes |
|---|---|---|---|
| Board lengths | 5 | 3/4 x 5 1/2 x 17 in | 3 maple, 2 walnut |
| Strips (ripped from the lengths) | 14 | 3/4 x 1 1/2 x 17 in | 3 strips per length, 1 spare |
The math: each strip is turned on its side, so it adds 3/4 inch of width. 14 strips x 3/4 inch = 10 1/2 inches wide. Each 5 1/2 inch board gives 3 strips at 1 1/2 inches plus two saw kerfs. The 17 inch lengths get trimmed to 16 inches after glue-up, and the 1 1/2 inch strip width becomes the board's thickness before flattening.
Steps
1. Cut the lengths. Crosscut the hardwood into five 17 inch pieces.
2. Rip the strips. Rip each piece into 1 1/2 inch strips. Keep the guard in place and use a push stick to feed narrow strips, as OSHA recommends. Wear eye and hearing protection.
3. Lay it out. Turn each strip on its side so the wide, smooth factory faces will be glued together. Arrange the colors (for example, maple, walnut, maple) and mark a big triangle across the top so you can put them back in order.
4. Glue up. Roll or brush glue on every glue face, stack the strips, and clamp. Alternate clamps above and below the board so it stays flat. Snug them until a small, even bead of glue squeezes out along each joint. Don't crank them as hard as you can.
5. Clean the squeeze-out. Scrape off the glue once it turns rubbery, and let the board cure as long as the label says before you work it.
6. Flatten and square it. Plane or sand both faces flat. Then trim both ends square to a 16 inch length.
7. Sand. Work through 80, 120, and 180 grit. Ease every edge and corner with sandpaper or a small roundover so the board is comfortable to pick up.
8. Finish. Wipe on a heavy coat of food-grade mineral oil, let it soak in, and wipe off the extra. Repeat until the wood stops drinking it up. A beeswax and mineral oil "board butter" on top gives a soft sheen.
Glue and finish: what counts as food safe
Wood glues are rated for water resistance under an industry standard: Type I is essentially waterproof and Type II is water resistant. That rating alone does not make a glue food safe, though. Use a glue whose label says it is approved for indirect food contact and gives its water resistance type.
For the finish, the University of Maine Extension recommends food-safe mineral oil or beeswax, and says to avoid olive or vegetable cooking oils, which can turn sticky and rancid.
Keeping it clean for years
The USDA Food Safety and Inspection Service (FSIS) recommends:
- Wash the board with hot, soapy water after each use, rinse, and dry it.
- To sanitize, use 1 tablespoon of unscented liquid chlorine bleach per gallon of water, then rinse.
- Use one board for raw meat, poultry, and seafood and a separate one for bread and vegetables.
- Throw out a board that gets so worn or grooved it is hard to clean.
FSIS says laminated boards (glued-up boards like this one) may crack and split in the dishwasher, so hand wash it. The University of Maine Extension adds: don't soak it, and re-oil about once a month, or whenever it looks dry.
Wood or plastic?
People have argued about this for years. A 1994 lab study by researchers at UC Davis found that bacteria placed on clean wooden boards were generally recovered less often than from plastic boards. It was one lab study, not a free pass. Wood still needs washing, drying, and its own board for raw meat.
Variations
- End-grain board: the strips are crosscut and turned again so the end grain faces up. Fine Woodworking says end grain is durable for heavy chopping and easier on knife edges, but it takes more steps. Save it for your second or third board.
- Smaller boards: use 8 strips for a 6 inch wide bread or cheese board.
Grandpa's board was often one thick slab of maple, oiled whenever someone remembered. Today's glue-ups let you make a board from ordinary lumber store boards, and the care is still the same: wash it, dry it, and oil it.