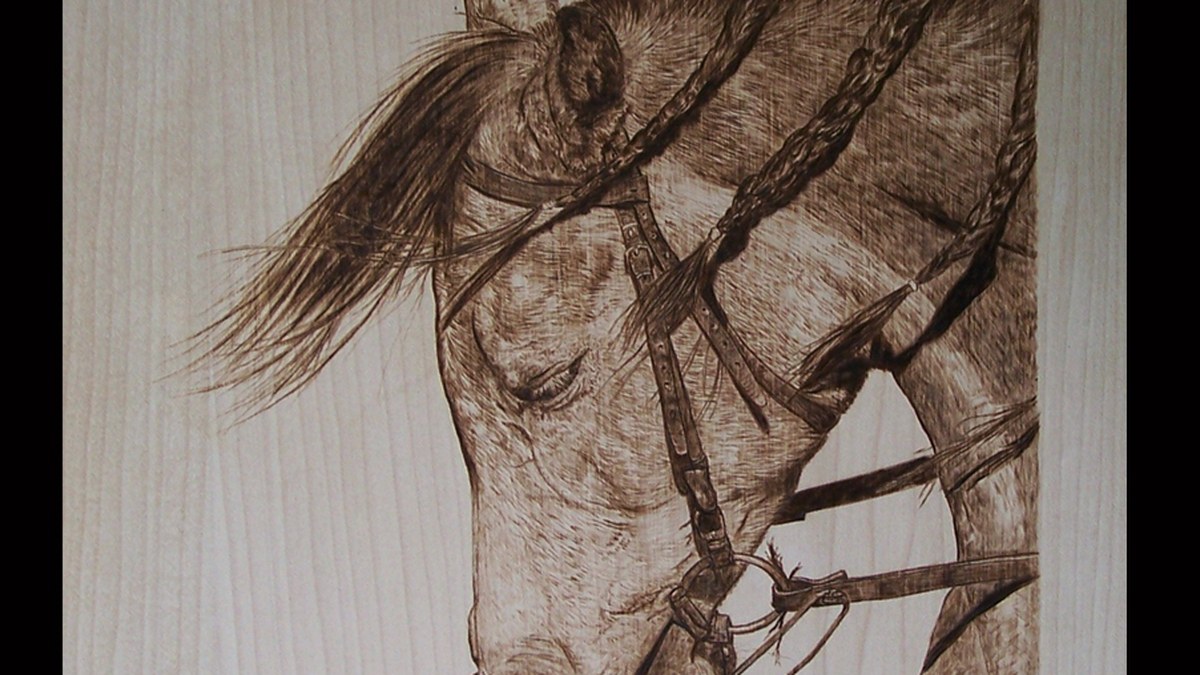
If you have ever turned over an old wooden box at an estate sale and found a design burned into the lid, you have seen pyrography. It is one of the oldest crafts around and one of the easiest to pick up. With one tool and a scrap of soft wood, you can make a sign, a coaster, or a Christmas ornament in an afternoon.
A little history
The word pyrography comes from Greek roots meaning "fire" and "writing," and Dictionary.com dates it in English to the late 1800s. Americans of that era also called it "pokerwork." According to the Sophienburg Museum in Texas, wood burning was popular in the United States from about the 1880s through the 1920s, and by around 1900 the Flemish Art Company of Brooklyn was selling kits to home hobbyists. Many of those boxes and plaques are still around today.
The two kinds of tools
Beginner guides like Wood Burning University describe two main types of wood burning tools:
- Solid-point burners look and work a lot like a soldering iron, with screw-in brass tips. They are the most affordable and a good way to find out if you enjoy the craft. Many have one fixed temperature, so you control the darkness by how fast you move.
- Wire-nib burners use a thin wire tip in a pen connected to a control box with a temperature dial. They heat up and cool down quickly and give finer detail. They cost more, and many people move up to one once they are hooked.
Either works for a first project. Start with a simple universal or writing tip for lines, and a shading tip if your kit has one.
Wood to use, and wood to avoid
Good woods for beginners: basswood, birch, and poplar. They are pale, smooth, and even grained, so the burned lines show up clearly and the tip glides without catching. Basswood rounds with the bark on the edge are sold in most craft stores and make an easy first canvas.
Never burn these, according to Wood Burning University:
- Pressure-treated wood, which contains chemical preservatives
- Painted, stained, or finished wood
- MDF and particleboard
- Plywood, because of the glue between the layers
Burning these can release harmful fumes. Even with plain wood, work in a well-ventilated room or near an open window with a small fan pulling the smoke away from your face.
Basic safety
- Always set the hot pen in its stand, never on the table.
- Work on a heat-safe surface and keep paper, rags, and pattern sheets away from the tip.
- Unplug the tool when you step away, and let it cool before changing tips. Use pliers for hot tips.
- Keep it out of reach of grandkids and pets while it is plugged in.
Your first project: a name sign on a basswood round
You need: a basswood round about 7 to 9 inches across, fine sandpaper (220 grit), a pencil, graphite transfer paper or a soft pencil, a printed pattern, your burner with a writing tip, and a clear spray or wipe-on finish.
1. Sand the face. Sand lightly with the grain until smooth. A smoother surface gives cleaner lines. Wipe off the dust.
2. Pick a simple pattern. For a first piece choose bold shapes and a short word: a pine tree and a family name, a star and the year, a simple house. Print it to fit the round.
3. Transfer the pattern. Lay graphite paper under the printout and trace over the lines with a pencil. If you don't have graphite paper, scribble soft pencil on the back of the printout and trace from the front.
4. Practice on scrap first. Burn a few lines and letters on the back of the round or a scrap. Try moving fast and slow to see how dark the line gets. Let the heat do the work: press lightly and keep the pen moving.
5. Burn the outline. Start with the longest straight lines, then the curves, then the letters. Turn the wood instead of twisting your wrist into awkward angles.
6. Add shading. Go over areas you want darker with slow, even strokes, or use a shading tip. Build darkness in layers rather than holding the tip in one spot, which leaves a deep pit.
7. Clean up and finish. Erase leftover pencil lines gently, then apply a clear finish to protect the wood and make the burn pop. Follow the finish label for drying time and ventilation.
Where to find patterns
Coloring books, stencils, and clip art all make good starting patterns, because they are already simple line drawings. Keep your first designs bold: thin, fussy detail is hard to burn cleanly until you have some practice.
The tools have changed a lot since the pokerwork kits of 1900, but the skill is the same: steady hands, light pressure, and patience. Start with one simple sign, and by Christmas you will be making ornaments for the whole family.